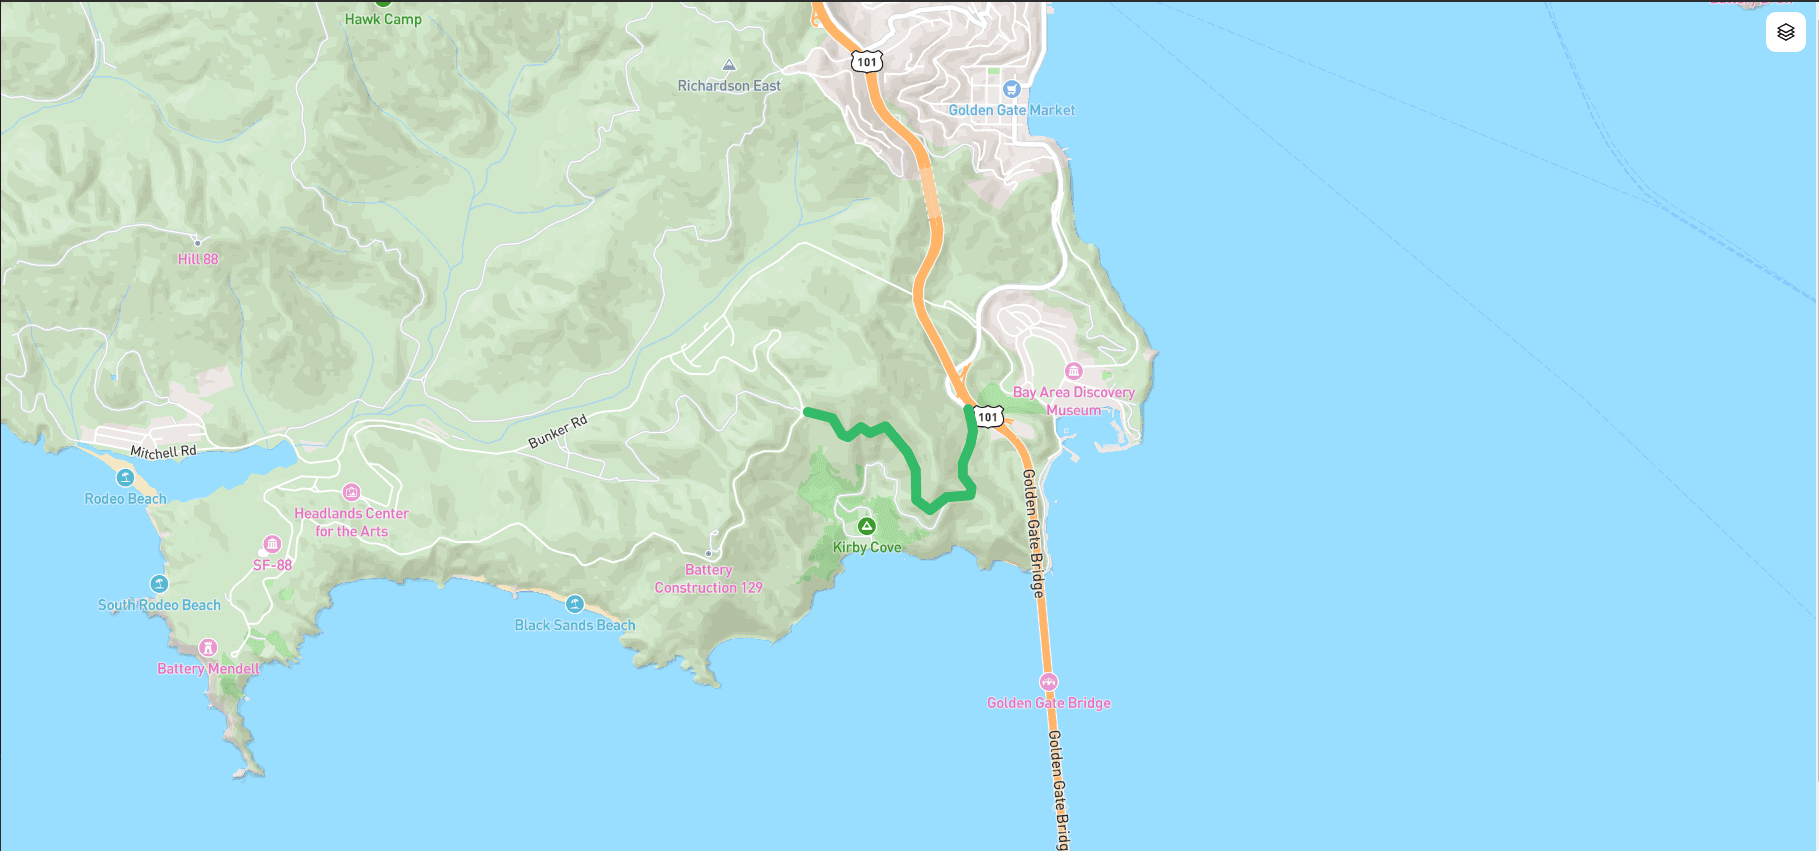
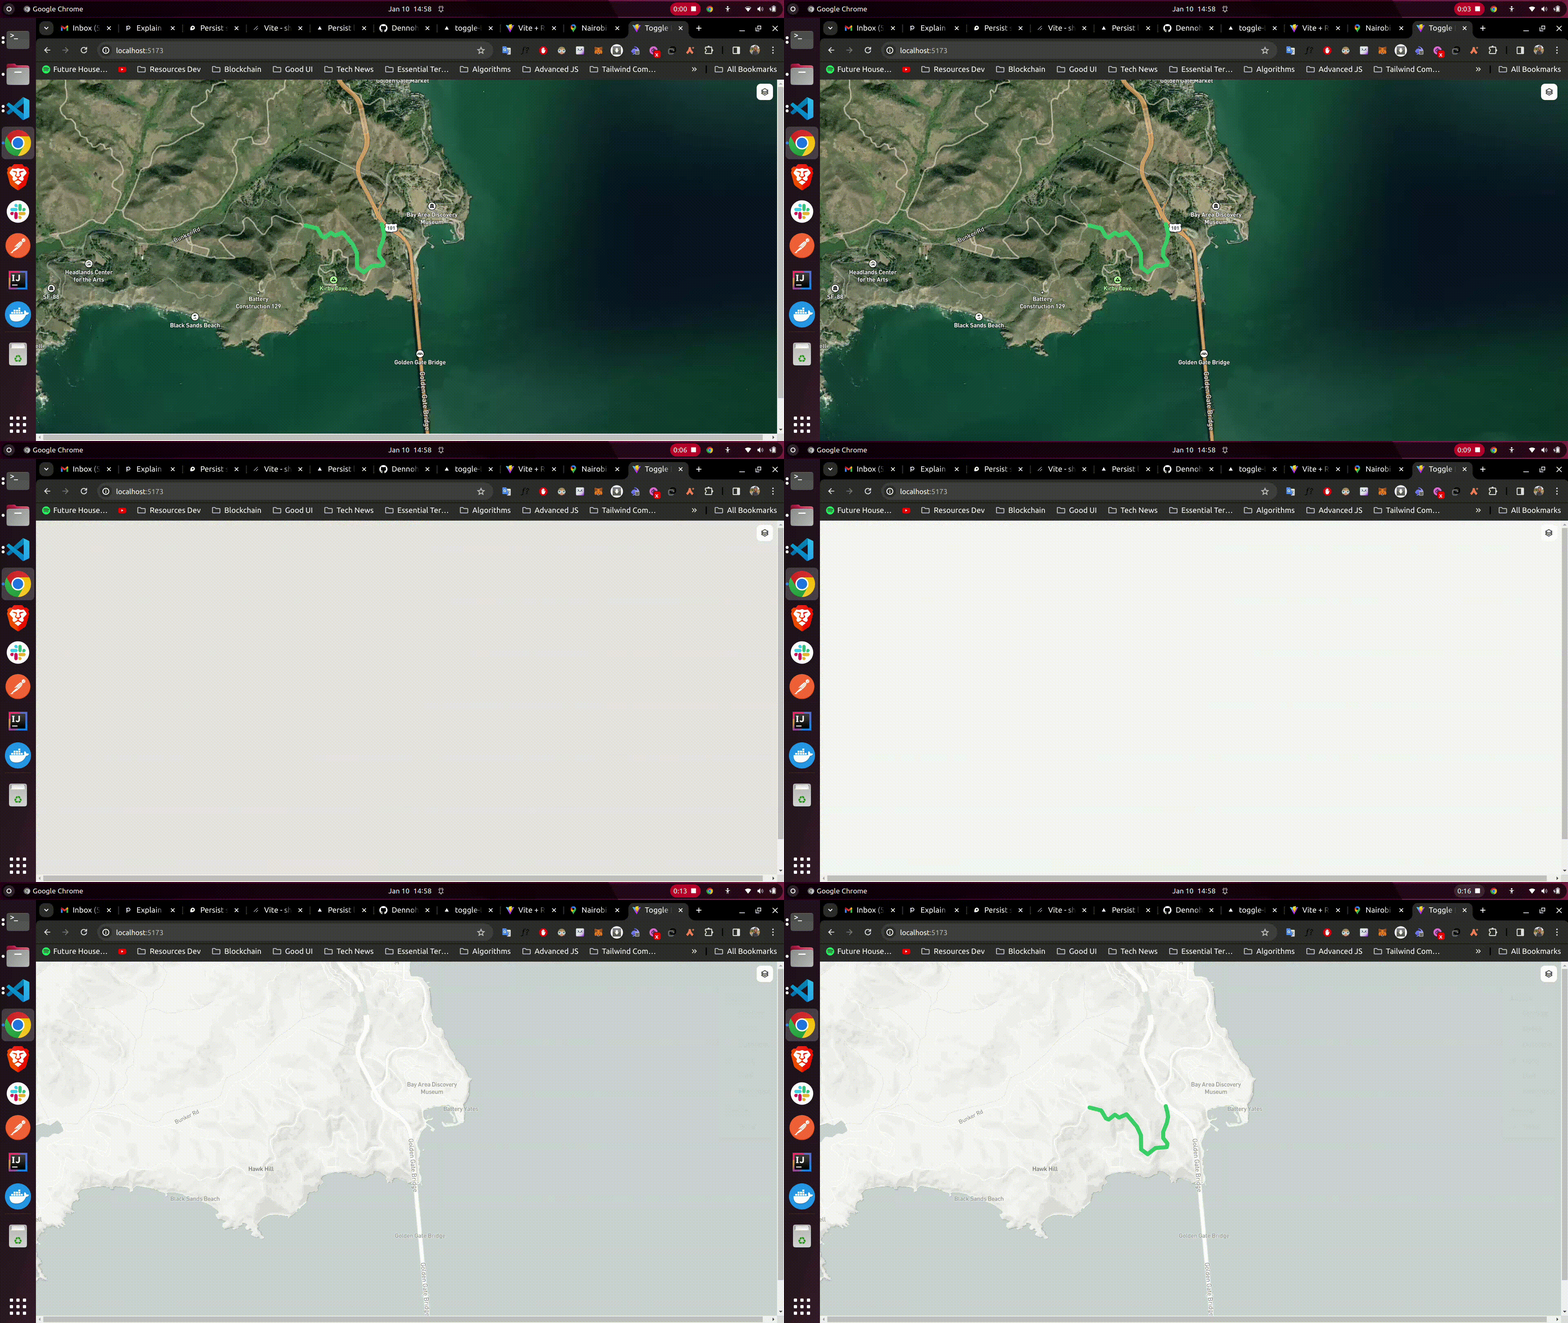
Introduction
In this tutorial, you will learn how to persist layers across different map styles on mapbox using react.
Prerequisites
To start building, you’ll need a basic understanding of web development, Node (v16), yarn, Javascript and React.
Getting Started
Bootstrap a react app using vite with the following command
npm create vite@latestGive your project a name and Select react framework and typescript.
Set up Mapbox
Install mapbox-gl using the following command
npm install mapbox-gl --save
Initialize the Map
Create a new file called Mapbox.tsx in the src folder and add the following code
import React, { useEffect, useRef, useState } from 'react';
import mapboxgl from 'mapbox-gl';

const Mapbox: React.FC = () => {
  const [map, setMap] = useState<mapboxgl.Map | null>(null);
  const [selectedLayer, setSelectedLayer] = useState<string>(
    'satellite-streets-v12'
  );

  // eslint-disable-next-line @typescript-eslint/no-explicit-any
  const mapContainer = useRef<any>(null);

  useEffect(() => {
    if (map) return;

    const mapboxMap = new mapboxgl.Map({
      accessToken: import.meta.env.VITE_MAPBOX_TOKEN,
      container: mapContainer.current,
      style: `mapbox://styles/mapbox/${selectedLayer}`,
      center: [-122.48369693756104, 37.83381888486939],
      zoom: 16,
    });

    setMap(mapboxMap);
  }, [map]);

  return (
    <>
      <div
        className='h-screen w-full relative flex flex-col'
        ref={mapContainer}
      ></div>
    </>
  );
};

export default Mapbox;-
Import the necessary react hooks and mapbox-gl.
-
Create a state variable to hold the map instance.
-
Create a ref to hold the map container. The map's container is stored in a ref, which allows direct access to the DOM node.
-
Initialize the map instance in the
useEffecthook. Inside this hook, a new Mapbox map is created and stored in state. The map's container is set to the current value of 'mapContainer', and the map's style, center, and zoom level are also set. The map is initialized using the satelitte-streets-v12 style. -
Return the map container in the render method.
Add a GeoJSON Source
Add the following code in a useEffect inside the Mapbox.tsx file
const [combinedLayerIds, setCombinedLayerIds] = useState<string[]>([]);

useEffect(() => {
  if (!map) return;

  function loadData() {
    console.log('function called');
    const combinedLayerIds: string[] = [];

    if (map) {
      // Add source and layers
      map?.addSource('routeSource', {
        type: 'geojson',
        data: {
          type: 'Feature',
          properties: {},
          geometry: {
            type: 'LineString',
            coordinates: [
              [-122.48369693756104, 37.83381888486939],
              [-122.48348236083984, 37.83317489144141],
              [-122.48339653015138, 37.83270036637107],
              [-122.48356819152832, 37.832056363179625],
              [-122.48404026031496, 37.83114119107971],
              [-122.48404026031496, 37.83049717427869],
              [-122.48348236083984, 37.829920943955045],
              [-122.48356819152832, 37.82954808664175],
              [-122.48507022857666, 37.82944639795659],
              [-122.48610019683838, 37.82880236636284],
              [-122.48695850372314, 37.82931081282506],
              [-122.48700141906738, 37.83080223556934],
              [-122.48751640319824, 37.83168351665737],
              [-122.48803138732912, 37.832158048267786],
              [-122.48888969421387, 37.83297152392784],
              [-122.48987674713133, 37.83263257682617],
              [-122.49043464660643, 37.832937629287755],
              [-122.49125003814696, 37.832429207817725],
              [-122.49163627624512, 37.832564787218985],
              [-122.49223709106445, 37.83337825839438],
              [-122.49378204345702, 37.83368330777276],
            ],
          },
        },
      });
      map?.addLayer({
        id: 'routeLayer',
        type: 'line',
        source: 'routeSource',
        layout: {
          'line-join': 'round',
          'line-cap': 'round',
        },
        paint: {
          'line-color': '#33bb6a',
          'line-width': 8,
        },
      });

      combinedLayerIds.push('routeLayer');
      setCombinedLayerIds(combinedLayerIds);
    }
  }

  map?.on('style.load', () => {
    loadData();
  });
}, [map]);
-
In the
useEffecthook, check whether the map instance is available. If not, return immediately doing nothing. -
Create a function called
loadDatathat will add a source and a layer to the map that contains a lineString feature. Futhermore, create an empty array that will store the line layer id. This array is stored in state using thesetCombinedLayerIdsfunction. -
The
loadDatafunction is called in themap.on('style.load')event listener. This event is fired when the map style loads. This is where the source and layer are added to the map.

Create a function to toggle the map styles
In order to toggle the map styles, we will need to install shadcn-ui library using the following command. The library will provide a dropdown menu component.
npx shadcn-ui@latest init
Add the dropdown menu component using the following command
npx shadcn-ui@latest add dropdown-menu
Add the following code in the Mapbox.tsx file
...


const layerOptions = [
    { value: 'mapbox/satellite-streets-v12', label: 'Satellite' },
    { value: 'mapbox/streets-v12', label: 'Street' },
    { value: 'mapbox/outdoors-v11', label: 'Outdoors' },
    { value: 'mapbox/light-v10', label: 'Light' },
    { value: 'mapbox/dark-v10', label: 'Dark' },
    { value: 'mapbox/navigation-day-v1', label: 'Navigation' },
  ];

  const handleLayerChange = (value: string) => {
    if (
      value === 'mapbox/satellite-streets-v12' ||
      value === 'mapbox/streets-v12' ||
      value === 'mapbox/outdoors-v11' ||
      value === 'mapbox/light-v10' ||
      value === 'mapbox/dark-v10' ||
      value === 'mapbox/navigation-day-v1'
    ) {
      map?.setStyle(`mapbox://styles/${value}`);
      // Check if 'unclustered-point' layer is included in the new style
      setSelectedLayer(value);
    } else {
      const visibility = map?.getLayoutProperty(value, 'visibility');
      console.log(`Visibility of layer ${value}: ${visibility}`);

      if (visibility === 'visible') {
        map?.setLayoutProperty(value, 'visibility', 'none');
      } else {
        map?.setLayoutProperty(value, 'visibility', 'visible');
      }
    }
  };
  ...
-
Create an array of map styles that will be used in the dropdown menu.
-
Create a function called
handleLayerChangethat will be called when the dropdown menu value changes. This function will set the map style to the selected value. If the selected value is not a map style, it will check if the layer is visible or not. If the layer is visible, it will set the layer visibility to none and vice versa.
Create a function to toggle the GeoJSON feature layer
Add the following code in the Mapbox.tsx file
const [allLayersVisible, setAllLayersVisible] = useState(true);

const toggleAllLayers = () => {
  const newVisibility = allLayersVisible ? 'none' : 'visible';
  combinedLayerIds.forEach((id) => {
    map?.setLayoutProperty(id, 'visibility', newVisibility);
  });
  setAllLayersVisible(!allLayersVisible);
};-
Create a state variable to hold the visibility of all the layers.
-
Create a function called
toggleAllLayersthat will be called when the toggle button is clicked. This function will check if all the layers are visible or not. If all the layers are visible, it will set the visibility of all the layers to none and vice versa.
Add the dropdown menu to the map
Add the following code in the Mapbox.tsx file
const Mapbox: React.FC = () => {

// existing code

return (
    <>
      <div className='h-screen w-full relative flex flex-col' ref={mapContainer}>
        <DropdownMenu>
          <DropdownMenuTrigger className='w-8 h-8 border-none absolute top-0 right-0 z-10 rounded-lg mt-2 mr-2 p-2 bg-white'>
            <Square3Stack3DIcon className=' h-full w-full text-black ' />
          </DropdownMenuTrigger>

          <DropdownMenuContent>
            <DropdownMenuRadioGroup
              value={selectedLayer}
              onValueChange={handleLayerChange}
            >
              <DropdownMenuLabel>Layers</DropdownMenuLabel>
              {layerOptions.map((option, index) => (
                <DropdownMenuRadioItem
                  key={index}
                  value={option.value}
                  className='flex items-center'
                >
                  <span className='flex-1'>{option.label}</span>
                </DropdownMenuRadioItem>
              ))}
            </DropdownMenuRadioGroup>

            <DropdownMenuSeparator />

            <DropdownMenuGroup>
              <DropdownMenuLabel>Assets</DropdownMenuLabel>

              <DropdownMenuCheckboxItem
                checked={allLayersVisible}
                onCheckedChange={toggleAllLayers}
              >
                Trees
              </DropdownMenuCheckboxItem>
            </DropdownMenuGroup>
          </DropdownMenuContent>
        </DropdownMenu>
      </div>
    </>
  );
};

export default Mapbox;
- Add the dropdown menu component to the map container then add the necessary props.
Final Output

Congratulations! You've persisted a GeoJSON feature layer across different map styles on mapbox using react.
- Mapbox - documentation
- Github repo - Source code
- Live Link - Demo